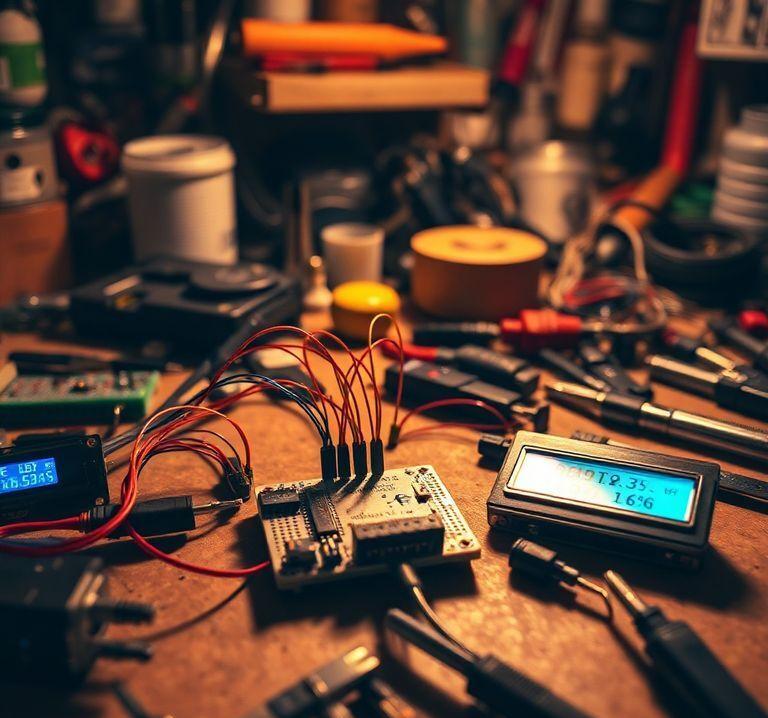
Temperature Monitoring with Arduino: A Comprehensive Guide
10.12.2024 - Engine: Gemini

Step-by-Step Guide for Temperature Monitoring with Arduino
Required Components:
- Arduino Uno or compatible board
- LM35 temperature sensor
- 10kΩ resistor
- Breadboard
- Jumper wires
Setup:
- Connect the LM35 sensor to the 5V and ground pins of the Arduino.
- Connect the output pin of the LM35 (pin 1) to analog input A0 of the Arduino through the 10kΩ resistor.
- Optionally, connect the output pin of the LM35 to ground to calibrate it.
Programming:
// Include libraries
#include <Arduino.h>

// Define analog input for LM35 sensor
const int analogInput = A0;

void setup() {
  // Initialize serial port for output
  Serial.begin(9600);
}

void loop() {
  // Read analog voltage from sensor
  int analogValue = analogRead(analogInput);

  // Convert voltage to temperature (0.5V/°C)
  float temperature = analogValue * (5.0 / 1023.0);

  // Print temperature
  Serial.print("Temperature: ");
  Serial.print(temperature);
  Serial.println("°C");

  // Delay to reduce CPU usage
  delay(500);
}
Code Explanation:
- The
Arduino.hlibrary is included. - The analog input
analogInputis set to A0. - In the setup function, the serial port is initialized.
- In the loop function, the analog voltage from the sensor is read and converted to temperature.
- The temperature is printed to the serial port.
- A delay is used to reduce CPU usage.
Calibration (Optional):
- Connect the output pin of the LM35 to ground.
- Upload the sketch and open the serial console.
- Note the displayed temperature.
- Disconnect the output pin from ground.
- In the sketch, change the following line:
float temperature = analogValue * (5.0 / 1023.0);to:
float temperature = analogValue * (5.0 / 1023.0) - offset;where offset is the temperature noted in step 3.
- Upload the sketch again and the displayed temperature should now be more accurate.

