Prototyping with Arduino: From Concept to Working Prototype
10.12.2024 - Engine: Gemini

Prototyping with Arduino: From Concept to Working Prototype
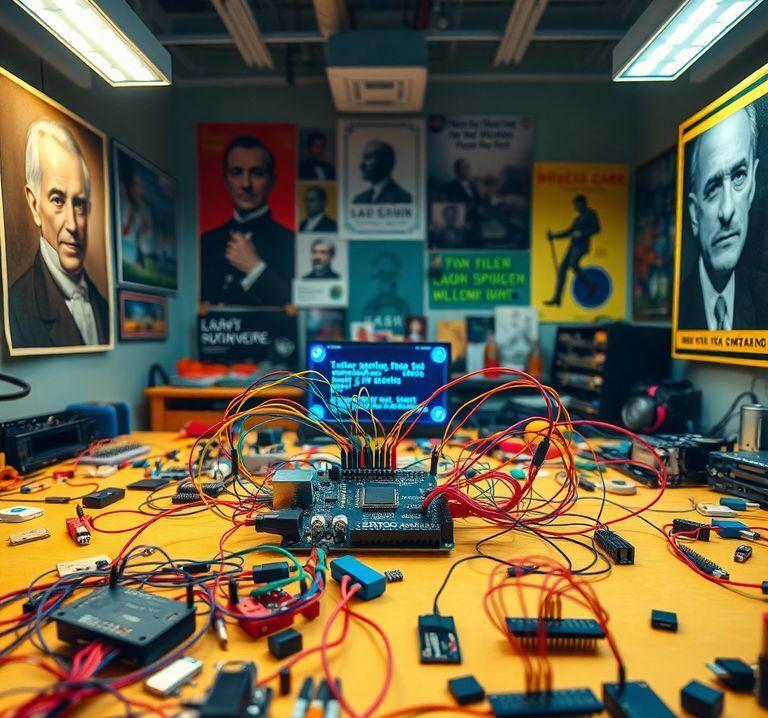
Arduino is an open-source platform that simplifies prototyping electronic devices. With its easy-to-use programming environment and wide range of available components, you can quickly and cost-effectively turn ideas into working prototypes.
Phase 1: Ideation
The first step is to develop an idea for your project. Consider what problem you want to solve or what functionality you want to create. A good idea is well-defined and feasible.
Phase 2: Component Sourcing
Once you have an idea, you need to source the necessary components. Arduino offers a variety of components, including sensors, actuators, and displays. You can also source components from other vendors.
Phase 3: Circuit Schematics
A circuit schematic is a diagram that shows how the different components will be electrically connected. You can create schematics using software such as Fritzing or Eagle.
Phase 4: Programming the Arduino
Arduino programming is based on the C++ language. The code defines the behavior of the Arduino and controls the connected components. You can write code in the Arduino IDE and upload it to the Arduino board.
Phase 5: Wiring and Assembly
After the code has been programmed, you need to wire the components together according to the schematic. Wiring can be done using wires, crimps, or breadboards.
Phase 6: Testing and Debugging
Once your circuit is assembled, test it to ensure that it functions as expected. You can use multimeters or oscilloscopes to measure voltages and signals. Fix any issues you discover during testing.
Phase 7: Refinement and Optimization
Once your prototype is functioning, identify areas where it can be improved. This may involve optimizing code efficiency, reducing power consumption, or improving user experience.
Tips for Prototyping with Arduino
- Start with simple projects and work your way up to more complex ones.
- Use high-quality components and pay attention to proper wiring.
- Document your code and circuitry for future reference.
- Seek help from online forums and communities when needed.
- Don't be afraid to experiment and try new things.
Conclusion
Prototyping with Arduino is a powerful and accessible way to turn ideas into tangible devices. By following the steps outlined in this guide, you can quickly and efficiently create working prototypes. Through continuous learning, experimentation, and refinement, you can transform your prototypes into market-ready products.

