
Building Your Own DIY Smart Mirror with Arduino and ESP32
10.12.2024 - Engine: Gemini
Build Your Own DIY Smart Mirror with Arduino and ESP32
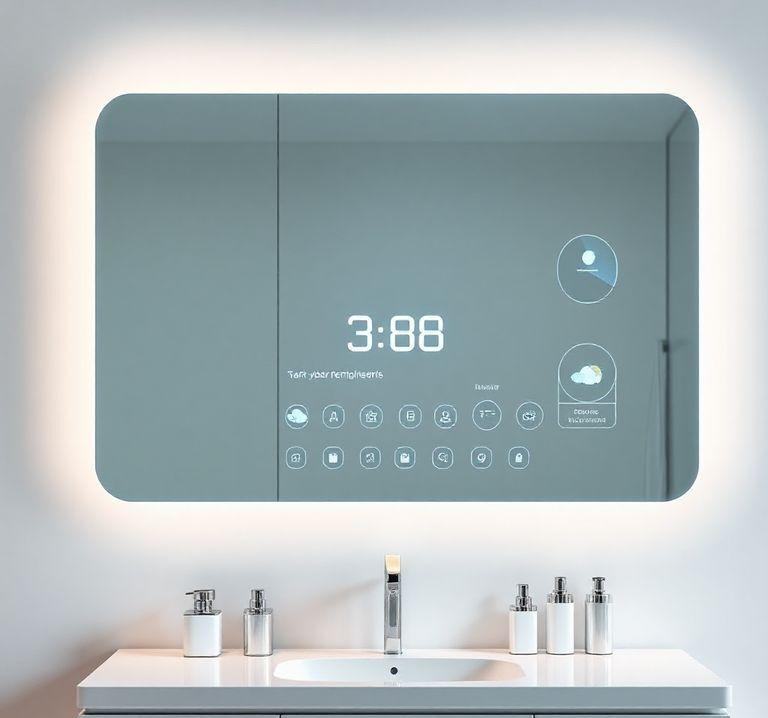
A smart mirror is a must-have accessory for tech enthusiasts. It can display the latest news, weather, your calendar, and much more. In this blog post, you will learn how to build a smart mirror with Arduino and ESP32.
Required Components
- Mirror
- Display panel (e.g., Raspberry Pi touchscreen)
- Arduino Mega or ESP32
- Adafruit NeoPixel strip (optional)
- Mirror film
- Power supply
- Speakers (optional)
- Wood or aluminum for the frame
Programming
Arduino Code:
#include <Adafruit_NeoPixel.h>

// NeoPixel settings
#define NUMPIXELS 60
#define PIN 6
Adafruit_NeoPixel pixels = Adafruit_NeoPixel(NUMPIXELS, PIN, NEO_GRB + NEO_KHZ800);

void setup() {
  pixels.begin();
}

void loop() {
  // Control light effects here
  pixels.clear();
  pixels.setPixelColor(0, pixels.Color(255, 0, 0));
  pixels.show();
}
ESP32 Code:
#include <WiFi.h>
#include <HTTPClient.h>
#include <ArduinoJson.h>

// WiFi settings
const char* ssid = "your_ssid";
const char* password = "your_password";

void setup() {
  WiFi.begin(ssid, password);
  while (WiFi.status() != WL_CONNECTED) {
    delay(500);
  }
}

void loop() {
  // Fetch news
  HTTPClient client;
  client.begin("https://newsapi.org/v2/top-headlines?country=us");
  int statusCode = client.GET();

  if (statusCode == 200) {
    String response = client.getString();

    // Parse JSON
    DynamicJsonDocument doc(1024);
    deserializeJson(doc, response);

    String title = doc["articles"][0]["title"];
    String description = doc["articles"][0]["description"];

    // Display news on screen
    Serial.println(title);
    Serial.println(description);
  }

  client.end();
}
Assembly
- Prepare the mirror: Cut the mirror film to the size of the mirror and apply it to the back.
- Mount the display: Attach the display panel to the mirror using adhesive or screws.
- Install Arduino/ESP32: Mount the Arduino or ESP32 behind the mirror.
- Connect the components: Connect the display, NeoPixels (optional), and speaker (optional) to the Arduino or ESP32.
- Assemble the frame: Build a frame using wood or aluminum and attach it around the mirror.
- Add extra features: You can add more features, such as voice control or gesture recognition, using additional components or a smartphone app.
Conclusion
A DIY smart mirror with Arduino and ESP32 is a versatile and fun project that provides you with a unique accessory. With some skills and patience, you can create an intelligent mirror that will enhance your daily routine.


