
Face Detection with ESP32 - A Step-by-Step Guide
10.12.2024 - Engine: Gemini
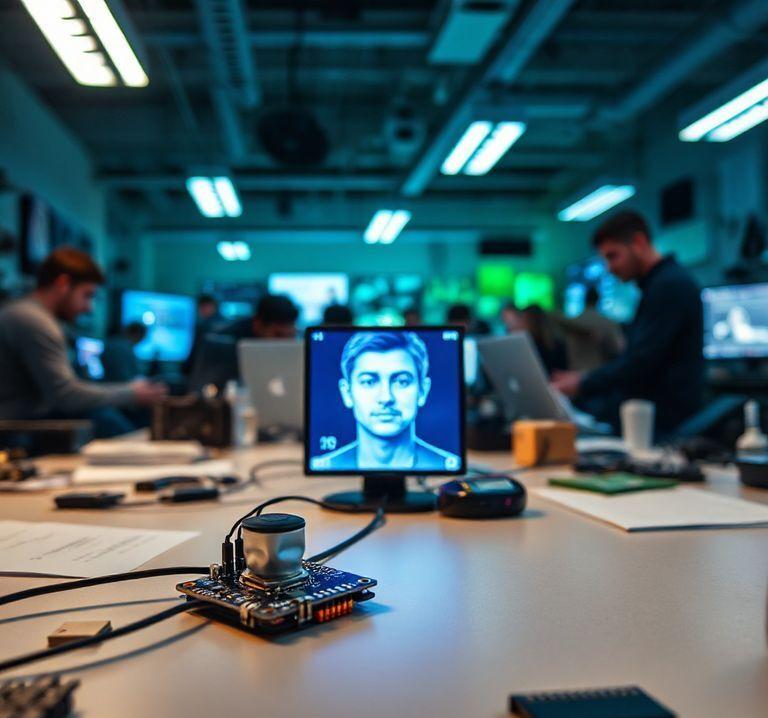
Step-by-Step ESP32 Facial Recognition Guide
Components
- ESP32 module
- Camera
- TFT display (optional)
Programming
1. Import Libraries
#include <Arduino.h>
#include <Arduino_JSON.h>
#include <esp_camera.h>
#include <esp32cam.h>
#include <WiFi.h>
#include <WiFiClientSecure.h>
2. Configure Camera
camera_config_t config;
config.ledc_channel = LEDC_CHANNEL_0;
config.ledc_timer = LEDC_TIMER_0;
config.pin_d0 = Y2_GPIO_NUM;
config.pin_d1 = Y3_GPIO_NUM;
config.pin_d2 = Y4_GPIO_NUM;
config.pin_d3 = Y5_GPIO_NUM;
config.pin_d4 = Y6_GPIO_NUM;
config.pin_d5 = Y7_GPIO_NUM;
config.pin_d6 = Y8_GPIO_NUM;
config.pin_d7 = Y9_GPIO_NUM;
config.pin_xclk = XCLK_GPIO_NUM;
config.pin_pclk = PCLK_GPIO_NUM;
config.pin_vsync = VSYNC_GPIO_NUM;
config.pin_href = HREF_GPIO_NUM;
config.pin_sscb_sda = SIOD_GPIO_NUM;
config.pin_sscb_scl = SIOC_GPIO_NUM;
config.pin_pwdn = PWDN_GPIO_NUM;
config.pin_reset = RST_GPIO_NUM;
config.xclk_freq_hz = 20000000;
config.frame_size = FRAMESIZE_QVGA;
config.pixel_format = PIXFORMAT_JPEG;
3. Establish Wi-Fi Connection
WiFi.begin("SSID", "Password");
while (WiFi.status() != WL_CONNECTED) {
  delay(500);
}
4. Enable Facial Detection
// Refer to https://cloud.google.com/vision/docs/face-detection#vision_rest_v1_annotate_image5. Capture Facial Data
// Create JSON for facial detection request
StaticJsonDocument<200> doc;
doc["requests"][0]["features"][0]["type"] = "FACE_DETECTION";
doc["requests"][0]["image"]["content"] = (char*)frame->buf;

// Send request to Cloud Vision
WiFiClientSecure client;
client.connect("vision.googleapis.com", 443);
client.print(String("POST /v1/images:annotate?key=") + API_KEY + " HTTP/1.1\r\n");
client.print("Host: vision.googleapis.com\r\n");
client.print("Content-Type: application/json\r\n");
client.print("Content-Length: " + doc.measureLength() + "\r\n\r\n");
serializeJson(doc, client);

// Receive the response
String result = client.readStringUntil("}");
6. Process Facial Data
// Parse response and extract facial data
auto error = deserializeJson(doc, result);
JsonArray faces = doc["responses"][0]["faceAnnotations"];
Potential Applications
- Access control
- Person identification
- Surveillance systems


