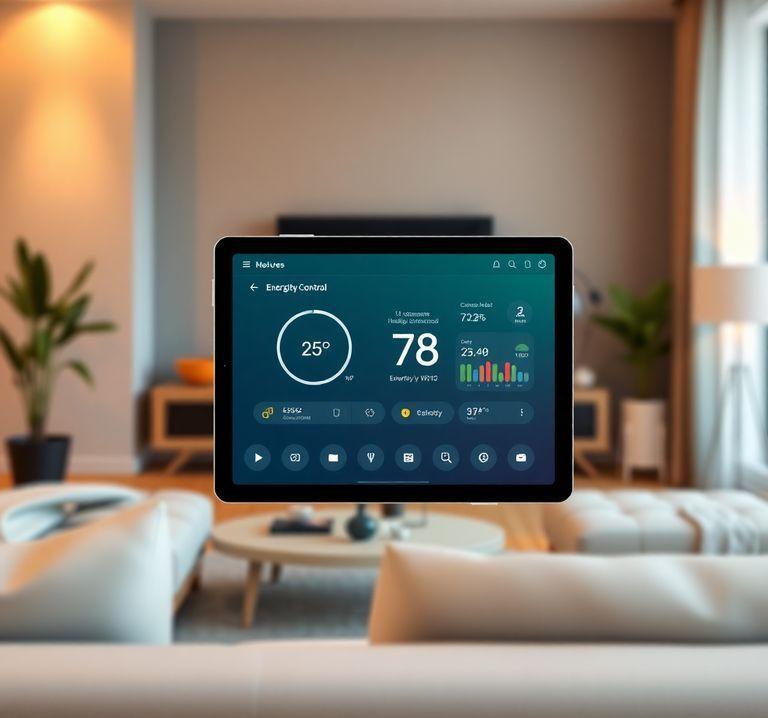
Smart Heating Control with ESP32 and MQTT
2023-12-11 - Engine: Gemini

Heating Control System with ESP32 and MQTT
Objective
To create a smart heating control system using an ESP32 microcontroller and the MQTT protocol for communication.
Implementation
Hardware Components:
- ESP32 microcontroller
- Temperature sensor (e.g., DHT11 or DS18B20)
- Relay or MOSFET for heater control
Software Components:
- Arduino IDE or PlatformIO for development
- MQTT library (e.g., PubSubClient) for communication
- Web server (e.g., ESPAsyncWebServer) for user interface
Steps:
- Hardware Connection: Connect the temperature sensor and the relay/MOSFET to the ESP32.
- Code Development: Program the ESP32 to read temperature, publish MQTT messages, and receive commands via MQTT.
- MQTT Broker Setup: Install an MQTT broker (e.g., Mosquitto or Eclipse Mosquito) and connect the ESP32 to it.
- Web Server Setup: Create a simple web interface on the ESP32 to display temperature and control the heater.
Benefits
- Remote Monitoring and Control: Control your heater from anywhere with MQTT.
- Automated Temperature Regulation: Set the desired temperature, and the system will adjust it automatically.
- Energy Savings: Reduce energy consumption by turning on the heater only when needed.
- Data Logging: Record temperature data and analyze it to optimize heating performance.
- Ease of Use: Simple web interface for effortless operation.
Sample Code
ESP32 Code:
#include <WiFi.h>
#include <PubSubClient.h>
#include <ESPAsyncWebServer.h>

// MQTT Details
const char* mqtt_server = "mqtt.example.com";
const int mqtt_port = 1883;
const char* mqtt_topic = "heater";

// Web Server Details
AsyncWebServer server(80);

// Temperature Sensor Setup
DHT11 dht11(D1);

// Relay Setup
const int relayPin = D2;

// MQTT Client Initialization
WiFiClient espClient;
PubSubClient client(espClient);

void setup() {
  // Serial Port Setup
  Serial.begin(115200);

  // Connect to Wi-Fi
  WiFi.begin("ssid", "password");
  while (WiFi.status() != WL_CONNECTED) {
    delay(500);
  }

  // Connect MQTT Client
  client.setServer(mqtt_server, mqtt_port);
  client.connect("heater");

  // Start Web Server
  server.begin();
}

void loop() {
  // Read Temperature
  float temperature = dht11.readTemperature();

  // Publish Temperature to MQTT
  client.publish(mqtt_topic, String(temperature).c_str());

  // Handle Web Server
  server.handleClient();
}
MQTT Broker Configuration:
# /etc/mosquitto/mosquitto.conf

listener 1883
