
Automated Watering Systems with Arduino and ESP32
10.12.2024 - Engine: Gemini
Building Automated Watering Systems Using Arduino and ESP32
Introduction
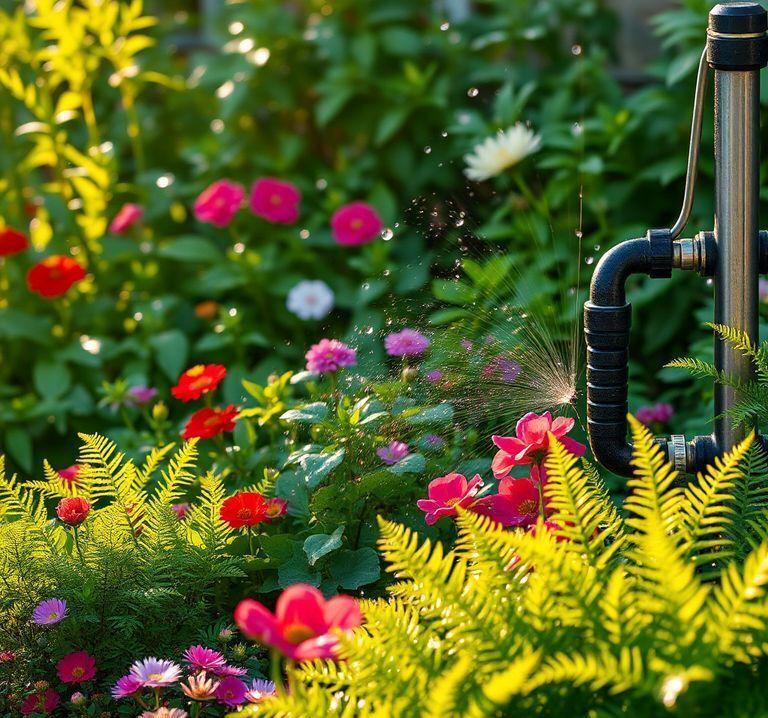
Watering plants can be a time-consuming task, especially if you have a lot of them. Automated watering systems can help you automate this task and ensure that your plants stay hydrated even when you're away. In this blog post, you will learn how to build an automated watering system using Arduino and ESP32 platforms.
Components Required
- Arduino or ESP32 board: To control the system
- Moisture sensor: To measure the moisture content in the soil
- Water pump: To pump the water
- Relay: To control the water pump
- Hose or pipes: To supply water
- Power supply: To power the system
Sensors and Their Functions
- Moisture sensor: This is a sensor that measures the moisture content in the soil. When the moisture content drops below a threshold value, the sensor sends a signal to the microcontroller to start watering.
Programming the Controller
Programming the controller is the most important part of the project. It determines how the system works and how it responds to different conditions. Here's a basic Arduino sketch for an automated watering system:
// Define the pins
const int moistureSensorPin = A0;
const int relayPin = 2;

// Define the threshold values
const int moistureThreshold = 500;

void setup() {
  // Pin configurations
  pinMode(moistureSensorPin, INPUT);
  pinMode(relayPin, OUTPUT);
}

void loop() {
  // Read moisture value
  int moisture = analogRead(moistureSensorPin);

  // Check if the moisture value is below the threshold
  if (moisture < moistureThreshold) {
    // Turn on the water pump
    digitalWrite(relayPin, HIGH);
  } else {
    // Turn off the water pump
    digitalWrite(relayPin, LOW);
  }

  // Add a delay
  delay(1000);
}
Assembly
Once the controller is programmed, you can assemble the system. Connect the components as follows:
- Connect the moisture sensor to the analog input of the Arduino or ESP32.
- Connect the relay to the digital output of the Arduino or ESP32.
- Connect the water pump to the relay contacts.
- Connect the hose or pipes to the water pump.
- Connect the power supply to the Arduino or ESP32.
Conclusion
Automated watering systems can save you a lot of time and effort while ensuring that your plants are optimally hydrated. With Arduino and ESP32, you can build low-cost and efficient systems. Follow the instructions in this blog post, and you can create your own automated watering system to keep your plants healthy and happy.


