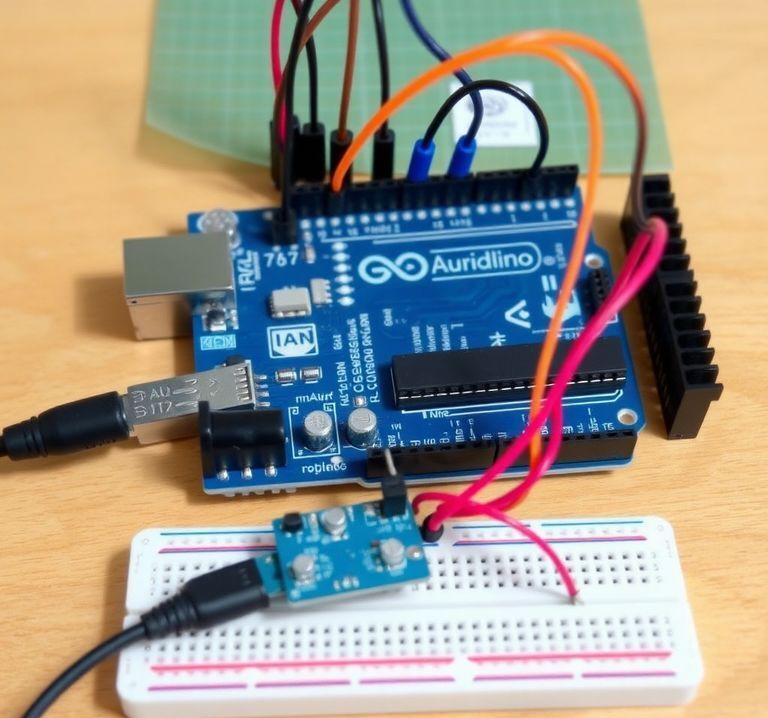
RFID Access Control System with Arduino: A Step-by-Step Guide
10.12.2024 - Engine: Gemini

Building an Access System with Arduino and RFID
Introduction
Radio-Frequency Identification (RFID) technology allows for the contactless identification of objects. When combined with an Arduino microcontroller, RFID can be used to implement access systems. This blog post will guide you through the process of building an RFID-based access system using Arduino.
Required Hardware
- Arduino Uno or similar controller
- RFID reader (e.g., MFRC522)
- RFID tags
- Door lock (e.g., electromagnetic lock)
- Power supply (e.g., 9V battery)
Required Software
- Arduino IDE (available for free)
- RFID library for Arduino
Implementation Process
1. Connect the Hardware
Connect the RFID reader to the Arduino according to the following diagram:
Arduino Pin | RFID Reader
--------- | ---------------
5V | VCC
GND | GND
D10 | SDA
D11 | SCK
D12 | MOSI
D13 | MISO
Connect the door lock to a digital output pin of the Arduino.
2. Install the RFID Library
- Open the Arduino IDE.
- Go to the "Sketch" menu and select "Include Library" > "Manage Libraries."
- Search for the "MFRC522" library and install it.
3. Write the Arduino Code
Copy the following code into a new Arduino sketch:
#include <MFRC522.h>

MFRC522 mfrc522(10, 11, 12, 13);  // RFID Reader constructor (SDA, SCK, MOSI, MISO)
int doorLockPin = 3;  // Door lock pin

void setup() {
  Serial.begin(9600);
  mfrc522.PCD_Init();  // Initialize RFID reader
  pinMode(doorLockPin, OUTPUT);  // Set door lock pin as output
}

void loop() {
  if (mfrc522.PICC_IsNewCardPresent()) {  // Check for a new card
    if (mfrc522.PICC_ReadCardSerial()) {  // Read card serial number
      Serial.print("Card Number: ");
      for (byte i = 0; i < mfrc522.uid.size; i++) {
        Serial.print(mfrc522.uid.uidByte[i], HEX);
      }
      Serial.println();

      // Here you can compare the card number with an authorized list and act accordingly

      if (authorizedCard) {  // If the card is authorized
        digitalWrite(doorLockPin, LOW);  // Unlock the door lock
        delay(5000);  // Keep the door lock unlocked for 5 seconds
        digitalWrite(doorLockPin, HIGH);  // Lock the door lock
      } else {
        Serial.println("Unauthorized card!");
      }
    }
  }
}
4. Configure Authorized Cards
- Hold authorized RFID tags one by one against the RFID reader and note down their serial numbers.
- Replace the
authorizedCardvariable in the code with a list of authorized serial numbers (e.g.,{ 0x12, 0x34, 0x56 }).
5. Upload and Test the Code
- Upload the code to the Arduino.
- Hold authorized RFID tags to the reader and observe the door lock unlocking.
- Test unauthorized RFID tags as well to ensure they deny access.
Conclusion
By combining Arduino and RFID technology, you can build an easy-to-implement and reliable access system. This system is ideal for securing rooms, offices, or other spaces that should only be accessible to authorized individuals.

