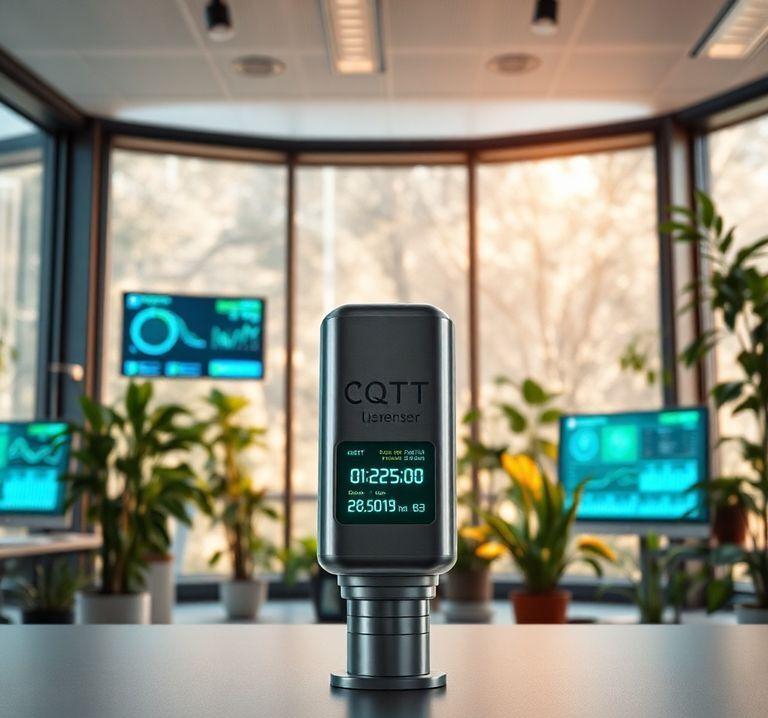
Monitor CO2 Sensor with MQTT: A Step-by-Step Guide
11.12.2024 - Engine: Gemini

Materials
- CO2 sensor (e.g. MH-Z19C)
- Microcontroller (e.g. ESP32)
- Wi-Fi module (optional, if the microcontroller does not have built-in Wi-Fi)
- MQTT client library
Steps
1. Hardware Setup
- Wire the CO2 sensor to the microcontroller according to its datasheet.
- Connect a Wi-Fi module if your microcontroller does not have built-in Wi-Fi.
2. Firmware Creation
- Install the MQTT client library on the microcontroller.
- Create firmware that:
- Reads the CO2 concentration from the sensor.
- Connects to an MQTT broker.
- Publishes the CO2 concentration to a specific MQTT topic.
3. MQTT Broker Setup
- Set up an MQTT broker (e.g. Mosquitto).
- Create a topic for the CO2 concentration (e.g. "co2/livingroom").
4. Data Visualization
- Install an MQTT client on a device (e.g. smartphone or laptop).
- Connect the client to the MQTT broker.
- Subscribe to the CO2 topic.
5. Testing
- Upload the firmware to the microcontroller.
- Monitor the CO2 concentration in the MQTT client. The data should update in real time.
Example Code (ESP32 with MH-Z19C)
#include <WiFi.h>
#include <PubSubClient.h>
#include <MHZ19.h>

const char* ssid = "Your_Wi-Fi_SSID";
const char* password = "Your_Wi-Fi_Password";
const char* mqtt_server = "Your_MQTT_Broker_Server";
const int mqtt_port = 1883;
const char* mqtt_topic = "co2/livingroom";

MHZ19 myMHZ19;
WiFiClient espClient;
PubSubClient client(espClient);

void setup() {
  Serial.begin(115200);
  myMHZ19.begin();
  WiFi.begin(ssid, password);
  while (WiFi.status() != WL_CONNECTED) {
    delay(500);
  }
  client.setServer(mqtt_server, mqtt_port);
  client.connect("esp32-co2-sensor");
}

void loop() {
  float co2 = myMHZ19.getCO2();
  Serial.println(co2);
  client.publish(mqtt_topic, String(co2).c_str());
  delay(5000);
}
