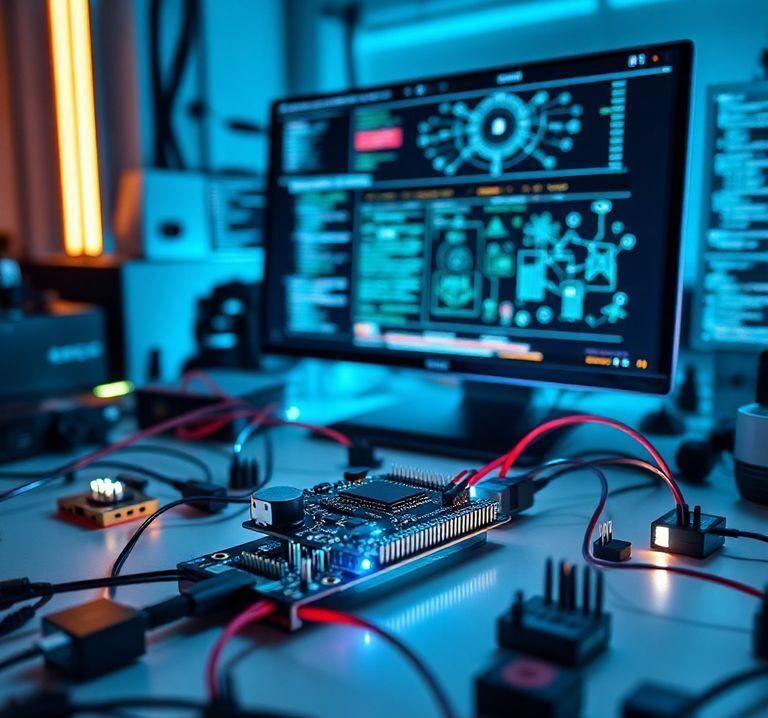
Controlling Home Appliances with ESP32 and MQTT
10.12.2024 - Engine: Gemini

Controlling Home Appliances with ESP32 and MQTT
Implementation
1. Setup the ESP32
- Set up the Arduino IDE for ESP32 development
- Install the ESP32 library
2. Setup the MQTT Broker
- Set up an MQTT broker such as Mosquitto or CloudMQTT
3. Connect the Hardware
- Connect the home appliances (e.g., coffee maker, fan) to the appropriate outputs on the ESP32
4. Code Implementation
ESP32 Code:
#include <Arduino.h>
#include <WiFi.h>
#include <PubSubClient.h>

// MQTT broker settings
const char* mqtt_server = "broker.hivemq.com";
const int mqtt_port = 1883;
const char* mqtt_user = "user";
const char* mqtt_pass = "password";

// Topic names
const char* topic_coffee = "home/coffee";
const char* topic_fan = "home/fan";

// Create MQTT client
WiFiClient espClient;
PubSubClient client(espClient);

void setup() {
  // Connect the ESP32 to Wi-Fi
  WiFi.begin("SSID", "Password");

  // Connect to the MQTT broker
  client.setServer(mqtt_server, mqtt_port);
  client.setCallback(callback);
  while (!client.connected()) {
    if (client.connect("esp32", mqtt_user, mqtt_pass)) {
      // Connected to the broker
    } else {
      // Retry connecting
    }
  }

  // Subscribe to topics
  client.subscribe(topic_coffee);
  client.subscribe(topic_fan);
}

void loop() {
  // Handle incoming MQTT messages
  client.loop();
}

void callback(char* topic, byte* payload, unsigned int length) {
  // Message for topic "home/coffee"
  if (strcmp(topic, topic_coffee) == 0) {
    // Turn on/off the coffee maker
  }

  // Message for topic "home/fan"
  else if (strcmp(topic, topic_fan) == 0) {
    // Turn on/off the fan
  }
}
Advantages
- Remote control: Control appliances from anywhere with internet access
- Automation: Set up schedules or rules for controlling devices
- Monitoring: Monitor the status of appliances in real-time
- Ease of integration: MQTT is a widely adopted protocol supported by many IoT devices and services
- Scalability: Easily add more devices to the system without increasing complexity

