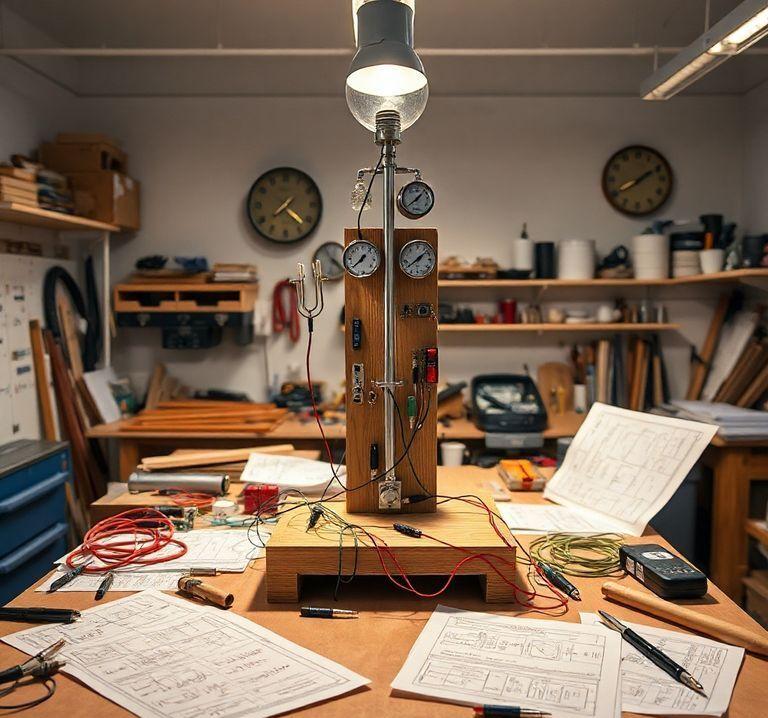
DIY Weather Station: Build Your Own with Arduino
11.12.2024 - Engine: Gemini

DIY Weather Station Guide
Materials Required:
- Arduino board (e.g., Arduino Uno)
- DHT22 temperature and humidity sensor
- BMP180 barometer sensor
- Anemometer (optional)
- Rain sensor (optional)
- Wi-Fi module (e.g., ESP8266)
- MQTT broker (e.g., Mosquitto)
- MQTT dashboard (e.g., Node-RED)
Step 1: Connect Sensors
- Connect DHT22 sensor to GPIO pins 2 (data), 3 (power), and GND.
- Connect BMP180 sensor to GPIO pins 4 (SCL), 5 (SDA), and GND.
- Optionally, connect anemometer to an analog input (e.g., A0).
- Optionally, connect rain sensor to a digital input (e.g., D2).
Step 2: Set Up Wi-Fi Module
- Connect Wi-Fi module to the Arduino board as per manufacturer instructions.
- Configure the Wi-Fi module with your network's SSID and password.
Step 3: Configure MQTT Broker
- Install an MQTT broker such as Mosquitto on your home server or an online service.
- Configure the broker with your desired settings.
Step 4: Create MQTT Dashboard
- Use an MQTT dashboard like Node-RED to create a dashboard that visualizes weather data.
- Configure the dashboard to connect to the MQTT broker and subscribe to weather data topics.
Step 5: Write Arduino Code
- Use the following Arduino libraries for sensors:
- DHT
- Adafruit_BMP085
- Write Arduino code that:
- Reads sensors
- Publishes weather data to an MQTT topic
- Reconnects to MQTT broker on connection failures
- Upload the code to the Arduino board.
Step 6: Configure Dashboard
- Add widgets to the dashboard to display temperature, humidity, atmospheric pressure, and other weather data.
- Configure the widgets to fetch data from the MQTT topics.
Result:
You now have a fully functional DIY weather station that collects weather data and sends it to a dashboard via MQTT. You can use this data to monitor weather changes, make forecasts, or simply check the current weather.

