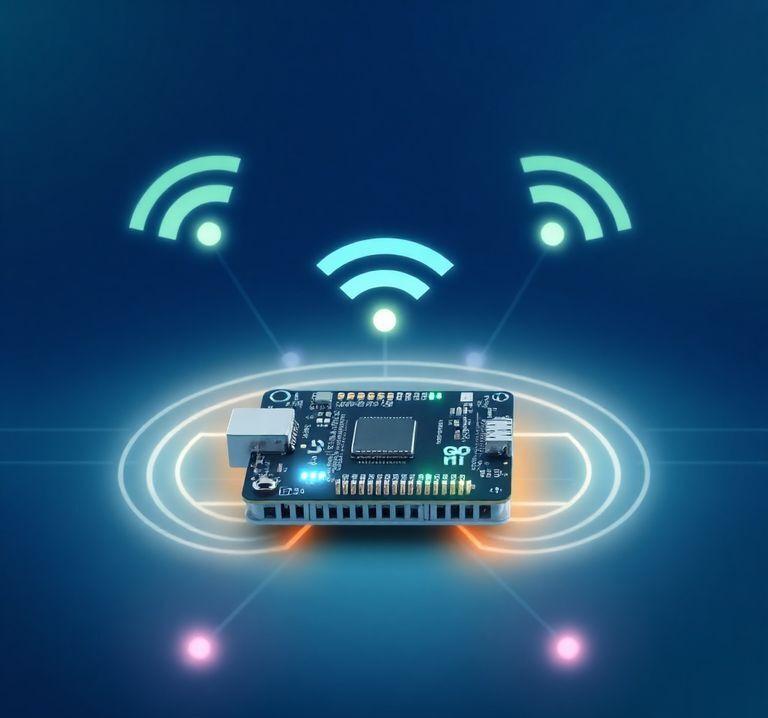
Connect ESP32 to Wi-Fi: A Step-by-Step Guide
10.12.2024 - Engine: Gemini

Step-by-Step Guide: Connecting ESP32 to Wi-Fi
Introduction
ESP32 is a microcontroller that is commonly used in IoT projects due to its built-in Wi-Fi capabilities. Connecting the ESP32 to Wi-Fi involves a few simple steps. In this blog post, we will go through a step-by-step guide on how to connect your ESP32 to a Wi-Fi network.
Materials Required
- ESP32 development board
- USB cable
- Wi-Fi network name and password
Step 1: Download and Install the Arduino IDE
Download the Arduino IDE from the official website and install it on your computer: https://www.arduino.cc/en/software
Step 2: Install the ESP32 Library
Open the Arduino IDE and navigate to File -> Preferences. Click on the Additional Board Manager URLs button and add the following URL:
https://dl.espressif.com/dl/package_esp32_index.jsonClick OK and then go to Tools -> Board -> Boards Manager. Search for esp32 and install the ESP32 by Espressif Systems library.
Step 3: Create a New Arduino Project
Create a new Arduino project and select the ESP32 board.
Step 4: Write the Sketch
Copy the following sketch into the Arduino IDE:
#include <WiFi.h>

const char* ssid = "YOUR_WI-FI_NETWORK_NAME";
const char* password = "YOUR_WI-FI_PASSWORD";

void setup() {
  WiFi.begin(ssid, password);
  while (WiFi.status() != WL_CONNECTED) {
    delay(500);
  }
}

void loop() {
  // Code to be executed when the ESP32 is connected to Wi-Fi
}
Replace YOUR_WI-FI_NETWORK_NAME and YOUR_WI-FI_PASSWORD with the name and password of your Wi-Fi network.
Step 5: Upload the Sketch to the ESP32
Connect the ESP32 to your computer using the USB cable. Select the correct COM port from the Tools -> Port menu. Click the Upload button and wait for the sketch to be uploaded to the ESP32.
Step 6: Check the Connection
Open the serial monitor in the Arduino IDE. If the ESP32 is successfully connected to Wi-Fi, you will see an output similar to the following:
[WiFi] Connecting to YOUR_WI-FI_NETWORK_NAME
[WiFi] Connected
Common Troubleshooting Tips
- Check Wi-Fi credentials: Make sure that you are entering the correct Wi-Fi network name and password.
- Check COM port: Select the correct COM port to which the ESP32 is connected.
- Check cabling: Ensure that the USB cable is securely connected to both the ESP32 and the computer.
- Check Arduino version: Make sure that you are using the latest version of the Arduino IDE.
- Check ESP32 library: Ensure that the ESP32 library is installed in the Arduino IDE.
Conclusion
Connecting the ESP32 to a Wi-Fi network is a simple process that involves a few easy steps. By following this guide, you can quickly and easily connect your ESP32 to your Wi-Fi and start working on IoT projects.

