
ESP32 and MQTT: Establishing the First Connection and Data Transfer
10.12.2024 - Engine: Gemini
ESP32
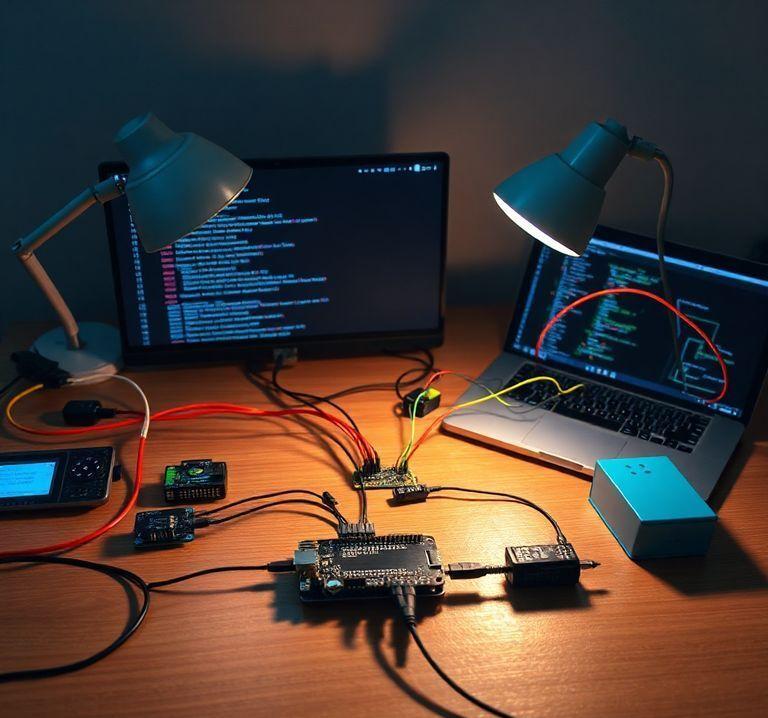
The ESP32 is a low-power microcontroller with built-in Wi-Fi and Bluetooth functionality. It is commonly used in Internet of Things (IoT) applications.
Features:
- Dual-Core CPU
- Integrated Wi-Fi and Bluetooth
- Low power consumption
- Compact size
MQTT
MQTT (Message Queuing Telemetry Transport) is a lightweight messaging protocol used in IoT applications. It allows devices to exchange messages through a central broker.
Features:
- Publish-subscribe architecture
- Low bandwidth and storage requirements
- Quality of Service (QoS) levels
Getting Started with ESP32 and MQTT: Connecting and Publishing Data
Materials:
- ESP32 module
- MQTT broker
- Wi-Fi access
Steps:
1. Connect ESP32 to Wi-Fi:
- Connect the ESP32 to a Wi-Fi network.
- Use the
WiFilibrary in the ESP32 firmware.
2. Create MQTT client:
- Create an MQTT client using the
PubSubClientlibrary. - Set the client's broker IP address, port, and credentials.
3. Connect to MQTT broker:
- Connect the client to the MQTT broker.
4. Publish data:
- Publish data to a specific topic.
- Use the
publish()function with the topic name and data to be sent as arguments.
5. Receive data:
- Subscribe to a topic on the broker.
- Use the
subscribe()function with the topic name as an argument. - Register a callback function to be called when a message is received.
Example Code:
#include <WiFi.h>
#include <PubSubClient.h>

const char* ssid = "Wi-Fi network name";
const char* password = "Wi-Fi password";
const char* broker = "MQTT broker IP address";
const uint16_t port = 1883;
const char* topic = "mytopic";

WiFiClient espClient;
PubSubClient client(espClient);

void setup() {
  Serial.begin(115200);
  WiFi.begin(ssid, password);
  while (WiFi.status() != WL_CONNECTED) {
    delay(500);
  }
  Serial.println("Connected to Wi-Fi");

  client.setServer(broker, port);
  client.connect("client_id");
  Serial.println("Connected to MQTT broker");
}

void loop() {
  if (!client.connected()) {
    client.connect("client_id");
  }

  client.publish(topic, "Hello, IoT!");
  Serial.println("Data sent");

  client.loop();
}


